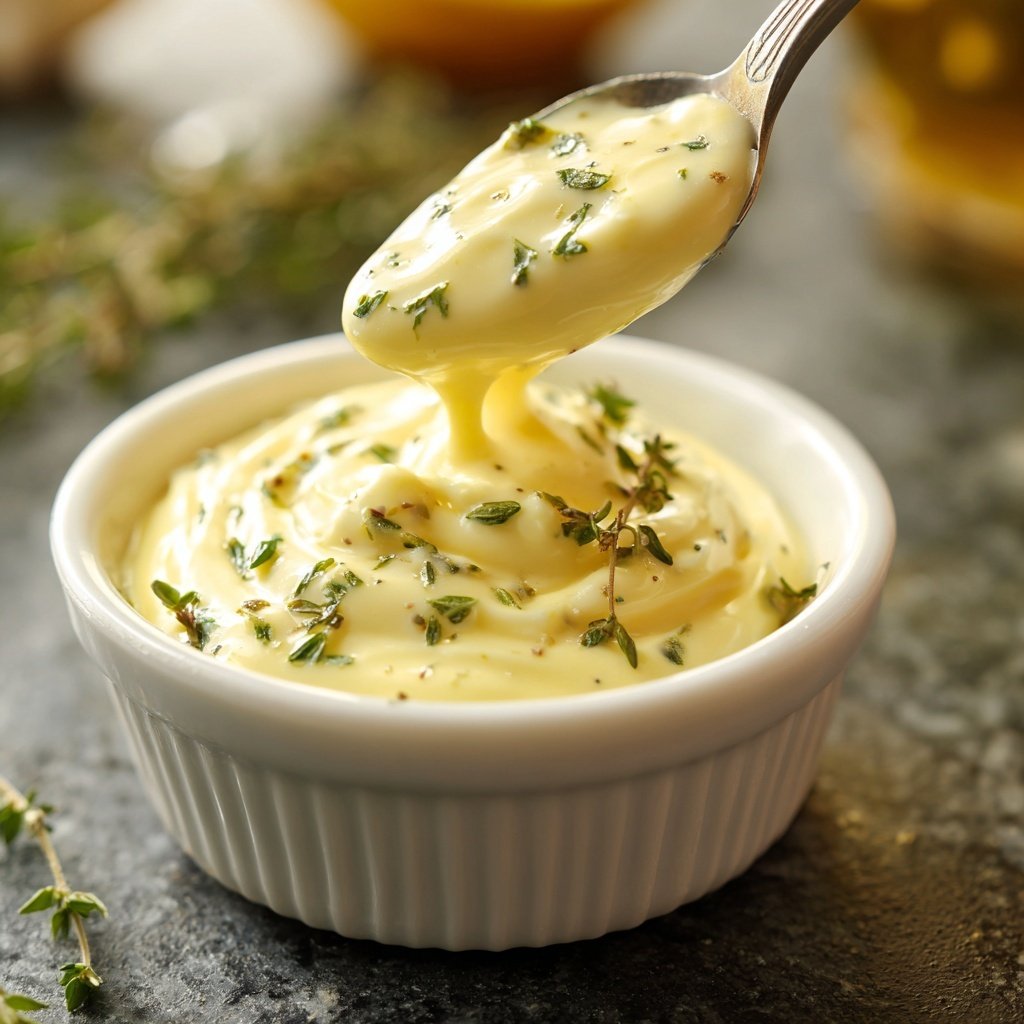
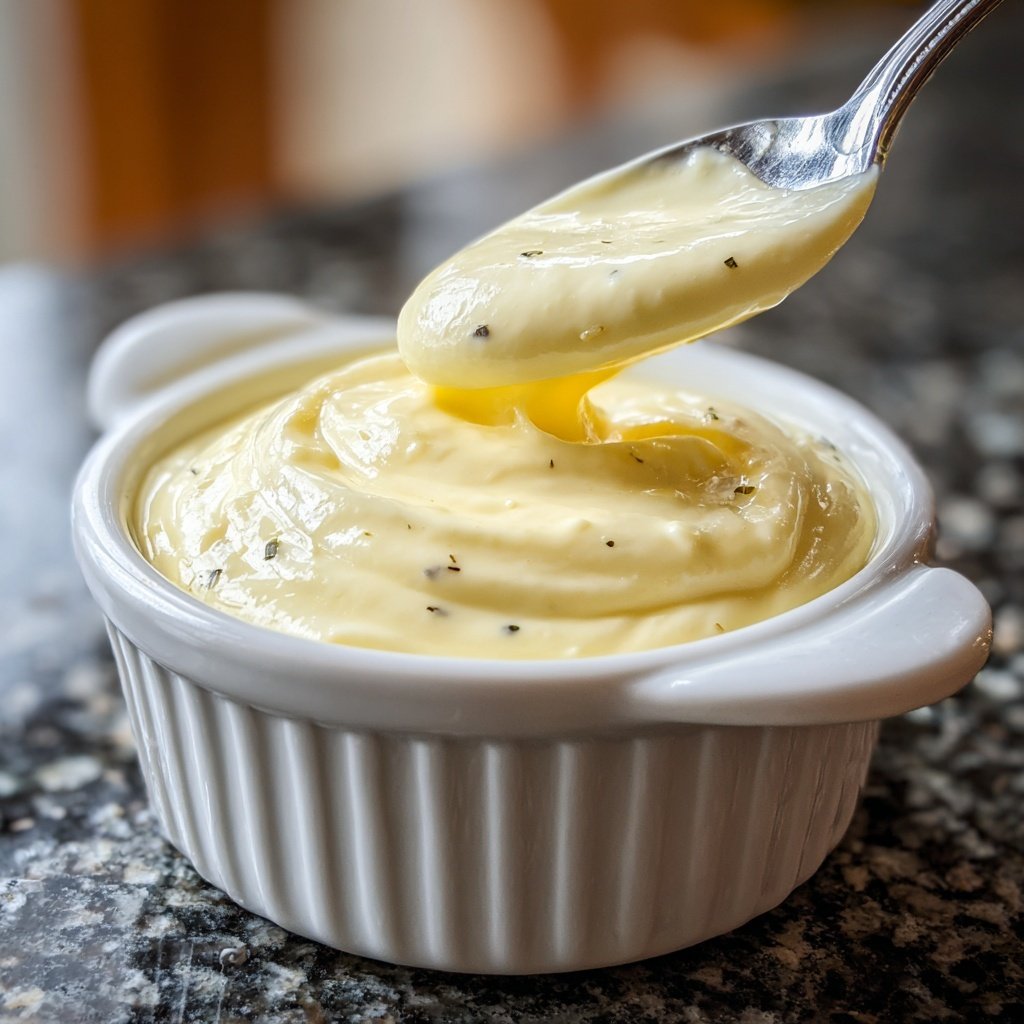
Homemade Garlic Aioli Sauce
Highlighted under: Speedy Table Meals
I love making my own garlic aioli sauce at home because it elevates any dish with its creamy texture and bold flavor. This sauce is perfect for dipping vegetables, spreading on sandwiches, or even as a dressing for salads. The best part is that it’s incredibly easy to whip up, requiring just a handful of simple ingredients. Once you try this homemade version, you'll never want to go back to store-bought. It's fresh, rich, and full of garlic goodness that I just can't resist!
When I first tried making aioli from scratch, I was amazed at how simple and flavorful it could be! I’ve experimented with various oils and garlic ratios, but I’ve found that a balance between extra virgin olive oil and mild oil delivers a perfect creamy texture while keeping that intense garlic flavor.
One tip that has transformed my aioli experience is using a handheld immersion blender. This tool allows for perfect emulsification, creating a smooth and rich sauce without any gritty texture. Plus, cleanup is a breeze!
Why You'll Love This Recipe
- Rich garlic flavor that enhances any dish
- Creamy consistency that’s easy to make at home
- Versatile sauce for veggies, sandwiches, and more
The Magic of Garlic
Garlic is the star of this aioli, and its quality can significantly impact the flavor of your sauce. Fresh garlic provides a robust taste, while pre-minced or jarred varieties can dull the sauce's richness. Take the time to mince your own garlic, as this technique releases essential oils that enhance the overall flavor profile. If you find raw garlic too strong, try roasting it beforehand to create a sweeter, more mellow taste that still complements the aioli beautifully.
For those worried about the pungency of garlic, there's a simple trick: soak the minced garlic in lemon juice for a few minutes before adding it to the mixture. This not only softens the garlic's bite but also infuses the sauce with a hint of zesty brightness, creating a well-rounded flavor. Plus, the acidity from the lemon juice helps preserve the aioli, giving it a longer shelf life in your refrigerator.
Mastering Emulsification
Emulsification is the key to achieving the ideal creamy texture of aioli. As you blend the ingredients, the process breaks down the oils into tiny droplets that combine with the eggs and garlic. To ensure success, begin with your immersion blender at the bottom of the container and gradually move it upwards. This technique allows for a smooth integration without the risk of breaking the emulsion, which can happen if the oils are added too quickly or if the blender is moved around too rapidly.
If your aioli splits or appears too thin, don’t worry! You can revive it by starting with a new egg yolk in a separate bowl and slowly whisking in the broken mixture drop by drop. This method reintroduces the emulsifying agents in the yolk, creating a cohesive mixture once again. I’ve had my fair share of aioli mishaps, but remembering this trick has saved many batches!
Serving and Storing Aioli
Once your homemade garlic aioli is ready, think outside the box for serving options. While it's fantastic as a dip for crunchy vegetables, it also elevates sandwiches, burgers, or wraps. Consider spreading it on grilled chicken or fish for an extra layer of flavor that will delight your taste buds. Plus, it pairs wonderfully with roasted potatoes or drizzled over a fresh salad, making each bite exciting and tasty.
Store your aioli in an airtight container in the refrigerator for up to a week. The flavors continue to deepen as it sits, making day two or three just as delicious as when you first made it. If you plan to use it for a longer period, consider freezing small portions in ice cube trays. This way, you can simply thaw a cube whenever you have a craving for that creamy garlic goodness.
Ingredients
Garlic Aioli Ingredients
- 2 large eggs
- 1 cup extra virgin olive oil
- 1/2 cup mild vegetable oil
- 4 cloves garlic, minced
- 1 tablespoon lemon juice
- Salt, to taste
Instructions
Prepare the Ingredients
In a bowl, combine the minced garlic and lemon juice. Let it sit for 5 minutes to mellow out the garlic's sharpness.
Emulsify the Sauce
In a tall container, add the eggs, garlic mixture, and a pinch of salt. Using an immersion blender, blend while slowly adding the oils until thick and creamy.
Adjust Seasoning
Taste your aioli and add more salt or lemon juice as desired. Blend briefly to incorporate.
Serve and Enjoy
Transfer the aioli to a serving dish. It can be refrigerated for up to a week if stored in an airtight container.
Pro Tips
- For an extra kick, try adding a pinch of cayenne pepper or smoked paprika to the aioli. It enhances the flavor profile beautifully.
Ingredient Substitutions
If you're looking for a lighter version without compromising on flavor, you can substitute half of the olive oil with a light mayonnaise. This swap maintains the creamy texture while reducing the richness. Additionally, for a twist, try using avocado oil instead of extra virgin olive oil, which adds a subtle, nutty flavor to your aioli.
For a vegan alternative, replace the eggs with aquafaba, which is the liquid from canned chickpeas. Use about 3 tablespoons of aquafaba to achieve a similar emulsifying effect. The resulting aioli will still be creamy and delicious, but without any animal products, making it perfect for plant-based diets.
Troubleshooting Tips
Should your aioli end up too garlicky for your taste, you can balance this intensity by adding a bit more lemon juice or a touch of sugar, which will help cut the sharpness. Remember to blend briefly after making adjustments to ensure that the flavors combine smoothly. Taste as you go to achieve the perfect balance.
If your aioli lacks the thick, creamy consistency you desired, try whisking in an additional egg yolk gradually. This will help thicken the sauce without the need for any added oils, allowing you to maintain the integrity of your original flavor profile while achieving a luxurious texture.
Making Ahead and Variations
One of the great things about garlic aioli is that it can be made ahead of time. This is particularly useful when hosting gatherings or preparing meal preps. It can easily be made a day or two in advance and stored in the refrigerator, allowing the flavors to meld beautifully. Just be sure to give it a good stir before using it to reactivate the delicious garlicky goodness.
Feel free to experiment with variations! You can infuse your aioli with herbs like dill or basil for an herbal twist, or add a hint of spice with chipotle or sriracha for a smoky kick. Each variation adds a unique flair, making this aioli a customizable condiment that can match multiple culinary styles.
Questions About Recipes
→ Can I use a blender instead of an immersion blender?
Yes, a regular blender works well too, but be sure to add the oils slowly to avoid breaking the emulsion.
→ What if I don't have fresh garlic?
You can use garlic powder, but fresh garlic will give you the best flavor.
→ How long can this aioli be stored?
Homemade aioli can be refrigerated for up to one week in an airtight container.
→ Is it possible to make this vegan?
Yes, you can substitute the eggs with aquafaba (chickpea brine) and follow the same method.
Homemade Garlic Aioli Sauce
What You'll Need
Garlic Aioli Ingredients
- 2 large eggs
- 1 cup extra virgin olive oil
- 1/2 cup mild vegetable oil
- 4 cloves garlic, minced
- 1 tablespoon lemon juice
- Salt, to taste
How-To Steps
In a bowl, combine the minced garlic and lemon juice. Let it sit for 5 minutes to mellow out the garlic's sharpness.
In a tall container, add the eggs, garlic mixture, and a pinch of salt. Using an immersion blender, blend while slowly adding the oils until thick and creamy.
Taste your aioli and add more salt or lemon juice as desired. Blend briefly to incorporate.
Transfer the aioli to a serving dish. It can be refrigerated for up to a week if stored in an airtight container.
Extra Tips
- For an extra kick, try adding a pinch of cayenne pepper or smoked paprika to the aioli. It enhances the flavor profile beautifully.
Nutritional Breakdown (Per Serving)
- Calories: 120 kcal
- Total Fat: 14g
- Saturated Fat: 2g
- Cholesterol: 50mg
- Sodium: 65mg
- Total Carbohydrates: 1g
- Dietary Fiber: 0g
- Sugars: 0g
- Protein: 3g